Dry aging of sausage and ham

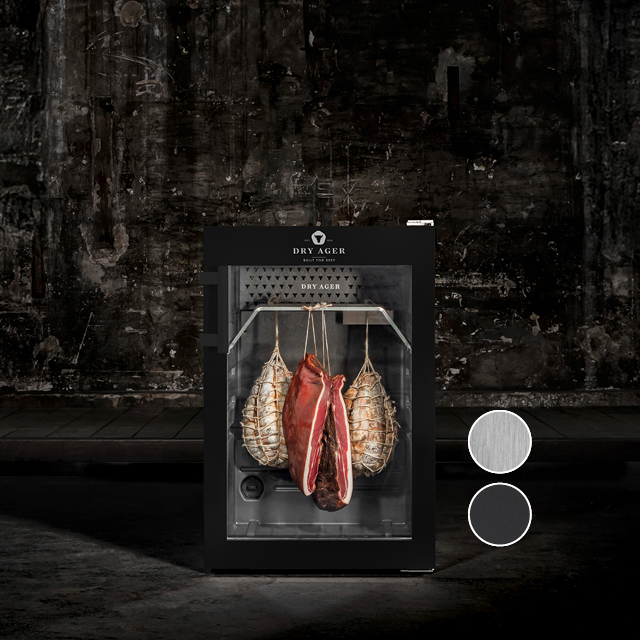
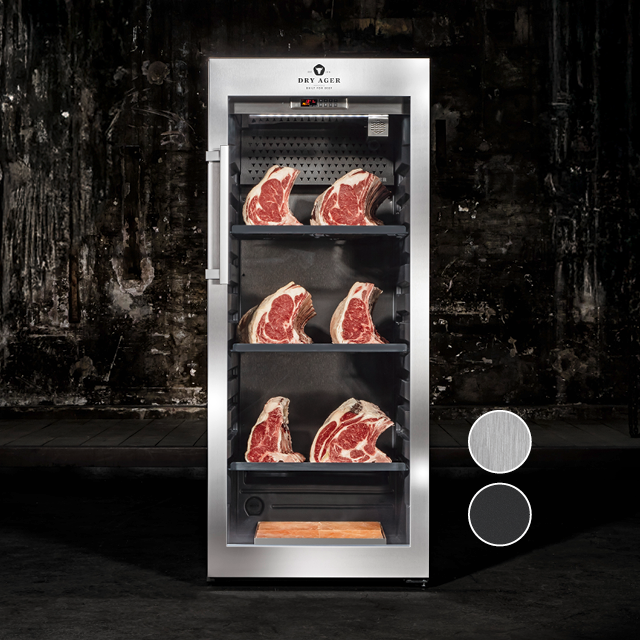
Fine smoked or dry aged ham and salami taste particularly good in the cold months. In a dry aging fridge like the DRY AGER® you can produce your own sausage and ham supplies. These self-developed products are a great gift for family and friends. With starter cultures from your local butcher, you can make your own sausage at home.
And here’s how it’s done
There are DIY kits for salami and other sausages. These include all the important ingredients, from spices to curing salt. For inexperienced hobby cooks, this is just exactly the help that is needed. The preparation process for ham is less involved and intricate.
The important thing is to preserve the ham and sausage products with curing salt. This achieves the desired reddening and also prevents the growth of bacteria.
Alternatively, you can use spice mixtures weighed precisely to the nearest gram.
Curing
Curing salt consists of kitchen salt and nitrite. The nitrite removes moisture and, combined with muscle pigment myoglobin, this causes the meat to turn red in colour. Butchers call this process ‘reddening’.
Dry aging
Due to the climate conditions that permit slow drying, dry aging originally only occurred in the Mediterranean area. Today, thanks to specialist dry aging fridges like the Dry Ager, it is now possible in our latitudes to make you own ham and bacon in the Lardo Style.
Smoking
A distinction is made between three types of smoking. Cold smoking (15 to 25°C) is particularly suitable for ham, bacon and salami. This process can be performed in a simple smoke box or in a smoking oven, and it has the longest shelf life. With warm smoking (25 to 60°C), the food is half-cooked. This is suitable for products like Viennese sausages. Hot smoking (60 to 80°C) cooks meat right through and is typically used for boiled ham, and for fish such as trout or eel.
Hygiene is important
Hygiene is a priority in meat processing. Otherwise bacteria can form moulds. It is therefore vitally important to keep tools, cutting boards and gloves clean.
Dry Aging time for ham and salami
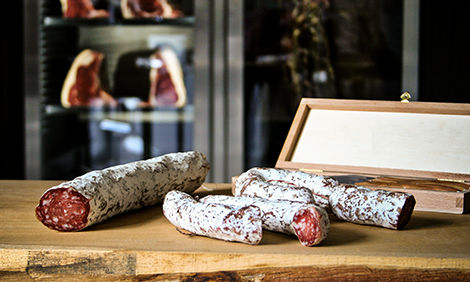
If you wish to give your nearest and dearest a real culinary delight, you should immediately set about equipping your dry aging fridge. Here is what you need to know about the dry aging time: ham and salami need quite a while to develop their full flavour. Salami becomes spicier and drier the longer it hangs. Depending on the type of salami, this process can take between 2 and 12 weeks. The flavour of ham also improves with time, retaining its delicate consistency throughout the aging period. This should be at least 10 days for fillet pork or a rolled fillet of ham, and up to 6 months for larger cuts from the haunch.
Salami production:
- Preparation
For salami, you should use fresh pork, beef or game, e.g. venison. De-bone the meat, and remove tendons and silver skin. Then mince it and put it in the freezer for two days. - Mixing
On the day of sausage production, follow the instructions for preparing starter cultures. Chop back bacon into small cubes in a mixer, then stir in the spices, garlic paste, starter cultures and the meat. Possibly add nitrite curing salt. Once the mixture starts to bond, beat it thoroughly. Then form it into balls and throw these several times against the cutting board. This drives out any air bubbles that could otherwise discolour the meat or even cause it to turn mouldy. - Filling
Scrape down the rinsed intestines, i.e. sausage skins, and fit them to the sausage filler. Then fill with the mince mixture, keeping it as free of bubbles as possible. This takes practice and a fair amount of dexterity. - Maturing
String up the finished sausages so that they do not touch one another, and leave them to sweat for a day (approx. 20-24°C and 80% humidity). Then let them hang for five days at about 17°C and 70% relative humidity, spraying them every day on all sides with brine. If necessary, to preserve them, cold-smoke them, then hang them up to dry in the dry aging fridge.
Tip: Season with roasted pine nuts, hazelnuts or truffles.
Ham production:
- Preparation
For ham, the best cuts are from the haunch, neck, shoulder or back of the pig, as well as smaller cuts of beef, game or capon (breast, shoulder, rolled or boiled fillet). With haunches, the meat can mature on the bone.
Remove all silver skin and tendons from the meat. - Spicing
Grind the spices coarsely in a mortar and mix with curing salt. Then rub them into the meat, which should then be stored, ideally for about 7-14 days, at refrigerator temperature. Turn the meat regularly. - Dry aging
Thoroughly rinse the meat in lukewarm water, dry it, then leave it in the dry aging fridge for 4-7 days on a hook at about 8°C and at humidity of 70-80% to ‘burn in’. - Smoking
You can then have a choice. You can either cold-smoke the ham in several smoking operations, then leave it to mature for at least ten days in the DRY AGER®.
Or you can air-dry it directly after the ‘burn-in’ stage until it reaches the level of maturity you wish to achieve.
Tip: Refine the smoking flour for ham with juniper or rosemary – or choose the smoking mixtures appropriate for your type of ham.
In friendly cooperation with Dipl. Fleischsommelier Ronny Paulusch
